If you've worked with CSS animations in React, a problem you may have run into is how to animate page content or a component when it's added to the document. This is something that doesn't come out of the box in React, but might be necessary if you want to animate lazy-loaded content, for example.
In this short article, you will learn how to animate React content when it's added or removed from the document. This is done without relying on any additional libraries or dependencies.
The approach we'll cover was inspired by this article. There are likely other ways to accomplish it, and some pre-built solutions are mentioned later in this article.
The Problem#
To better visualize the problem, let's look at a basic example.
Let's say we have a button that shows or hides some content when clicked.
const Example = () => {const [isMounted, setIsMounted] = useState(false);return (<div className="container"><button onClick={() => setIsMounted(!isMounted)}>{`${isMounted ? 'Hide' : 'Show'} Element`}</button><div className="content"><div className={`card ${isMounted && 'visible'}`}>Card Content</div></div></div>);};
Based on the styles below, we want the content to animate in and back out again.
.card {...opacity: 0;transform: translateY(15px);transition: opacity 1s ease, transform 1s ease;}.card.visible {opacity: 1;transform: translateY(0);}

The animation in the example works just fine because the element we're animating is always in the DOM. Toggling the visible class causes it to transition to the properties we've defined.
Click here to see the complete demo.
Now let's add a conditional check around the content.
{isMounted && (<div className={`card ${isMounted && 'visible'}`}>Card Content</div>)}

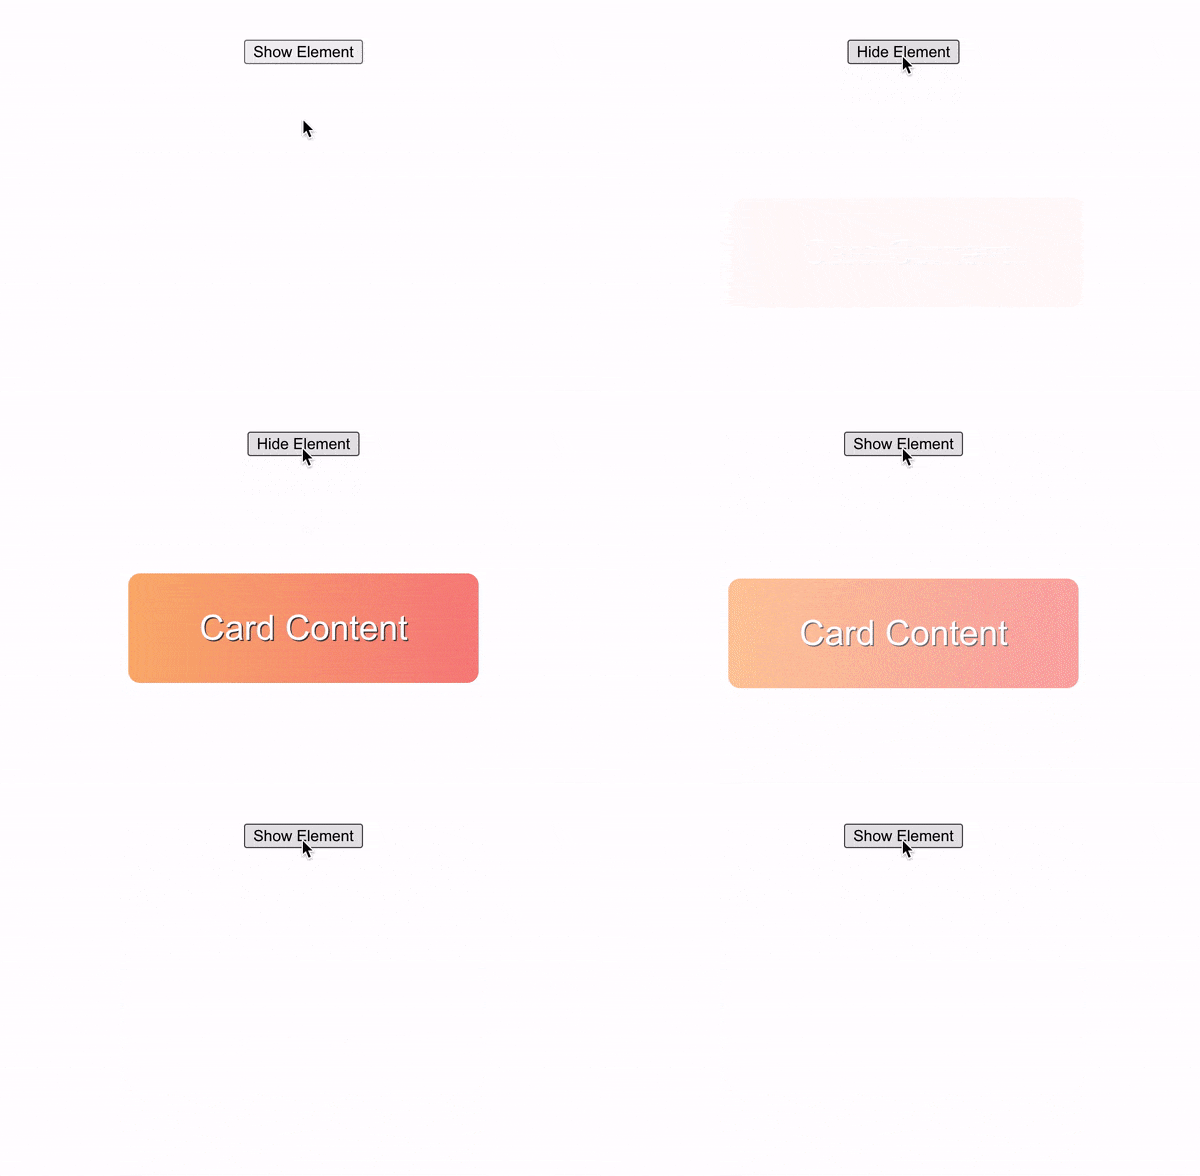
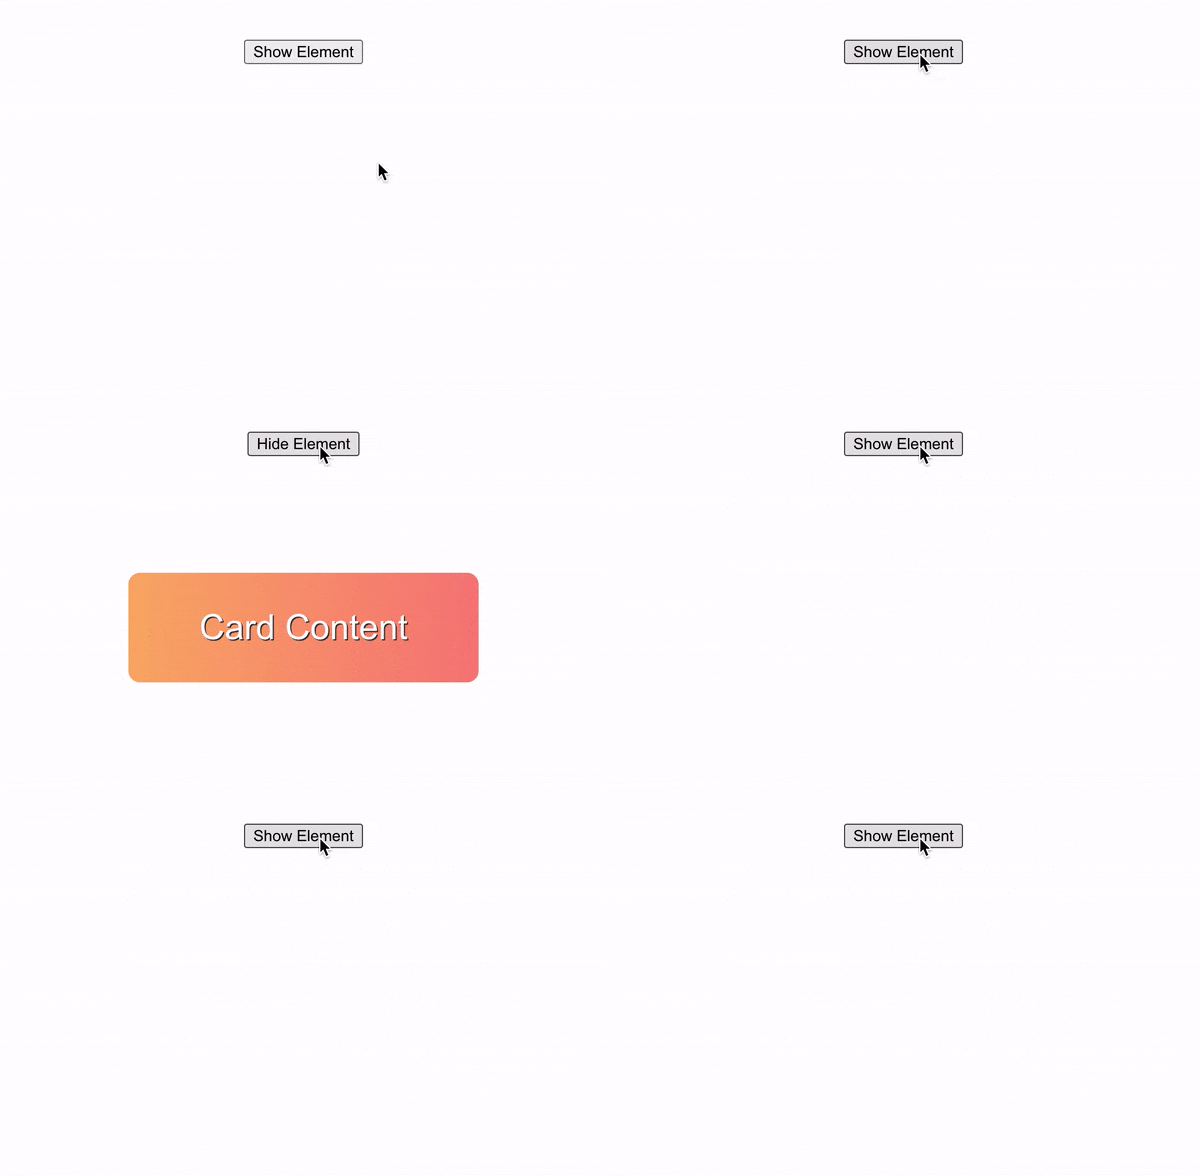
You can see that we've lost the transition.
This is because the state value that controls the toggling of the visible CSS class also controls the rendering of the content. Since the visible class is applied immediately when the content enters the DOM, there's no transition.
A Solution - Custom React Hook#
What we can do is first render the content using the original isMounted state value, then add the visible class immediately afterward using a second state value.
We can write a hook to handle most of the logic and allow for reusability.
Start by creating a new file named useMountTransition.js. Within the file, we will need the useState and useEffect hooks so be sure to import them.
import { useEffect, useState } from 'react';const useMountTransition = (isMounted, unmountDelay) => {const [hasTransitionedIn, setHasTransitionedIn] = useState(false);return hasTransitionedIn;}export default useMountTransition;
useMountTransition will take an isMounted boolean value and an unmountDelay number as parameters. The unmountDelay will let us wait a certain amount of milliseconds for the unmount transition to finish before signaling that it should be removed from the document.
In the hook, we can create a second state value, hasTransitionedIn, derived from the isMounted parameter. This will re-render the component to apply the CSS class containing the transition after the initial mount.
All of our logic will live within a useEffect.
const useMountTransition = (isMounted, unmountDelay) => {const [hasTransitionedIn, setHasTransitionedIn] = useState(false);useEffect(() => {let timeoutId;if (isMounted && !hasTransitionedIn) {setHasTransitionedIn(true);} else if (!isMounted && hasTransitionedIn) {timeoutId = setTimeout(() => setHasTransitionedIn(false), unmountDelay);}return () => {clearTimeout(timeoutId);}}, [unmountDelay, isMounted, hasTransitionedIn]);return hasTransitionedIn;}
If isMounted is true, and we are not yet transitioning, set hasTransitionedIn to true. At this point, the hook will be returning true.
Otherwise, if the opposite scenario is true, then we're in the unmounting process. The hasTransitionedIn state should be set to false after a delay.
With our hook finished, let's make a few changes to the original code to get things working again.
First, pass the isMounted state value, and a delay of 1000ms into the hook.
const Example = () => {const [isMounted, setIsMounted] = useState(false);const hasTransitionedIn = useMountTransition(isMounted, 1000);return (<div className="container"><button onClick={() => setIsMounted(!isMounted)}>{`${isMounted ? 'Hide' : 'Show'} Element`}</button><div className="content">{(hasTransitionedIn || isMounted) && (<divclassName={`card ${hasTransitionedIn && 'in'} ${isMounted && 'visible'}`}>Card Content</div>)}</div></div>);};
Next, modify the conditional used for rendering the content to hasTransitionedIn || isMounted. We want to render the content if it's mounted OR if hasTransitionedIn is true.
Finally, update the CSS selector. The styles are applied only if both in and visible classes are on the div element.
.card.in.visible {opacity: 1;transform: translateY(0);}

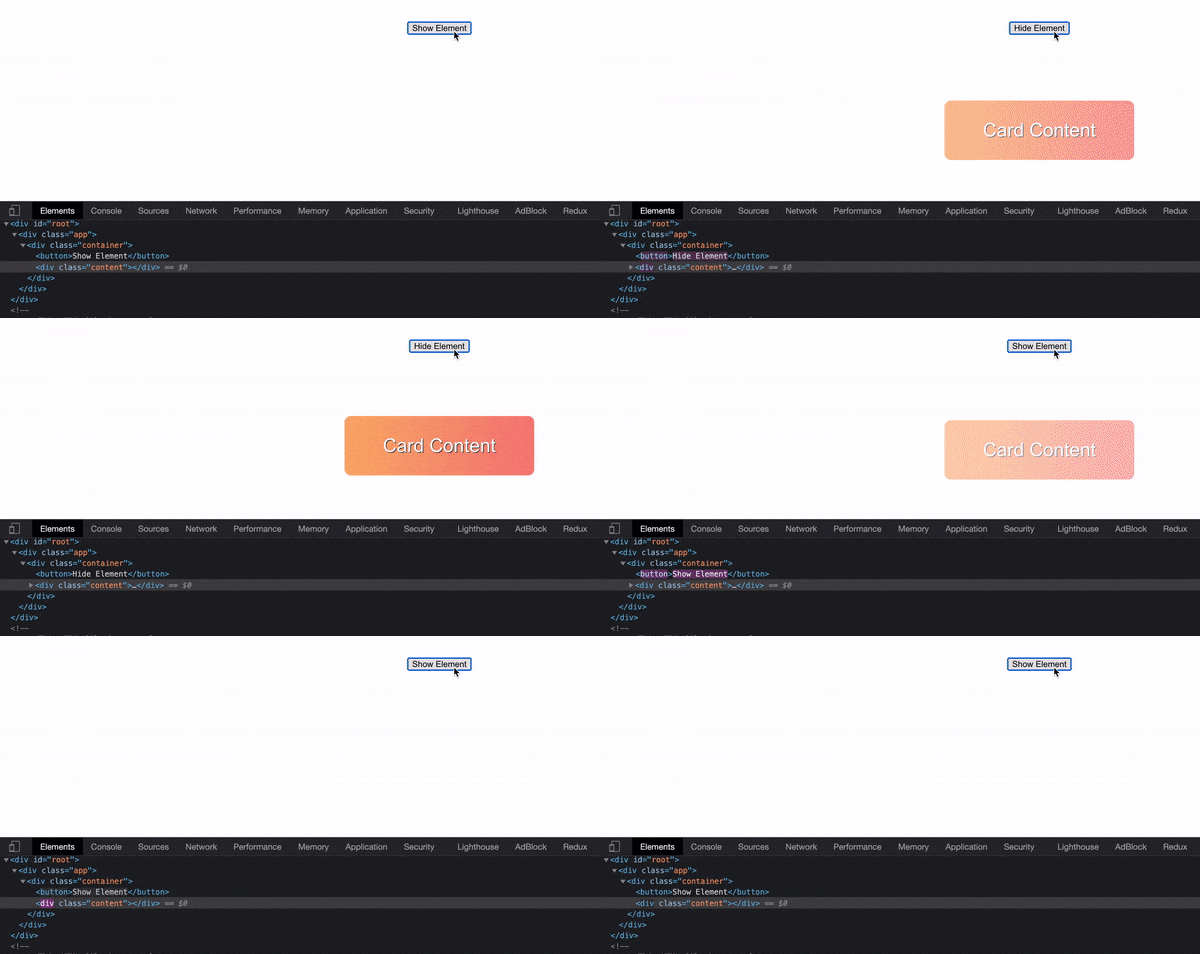
You can see that now the content transitions in when added to the document, and transitions out right before being removed.
Other Options#
If you're using an animation library like Framer Motion, or React Transition Group, then you may not need to deal with this issue at all.
In Framer Motion, there is nothing extra for you to do - an element with transition or animation properties on it will automatically animate when mounting or unmounting.
If you want to learn more about Framer Motion, please check out these past articles.
- Getting Started With Framer Motion
- Animated Tabs With Framer Motion
- Using Framer Motion For Complex Animations
With React Transition Group, the Transition component can be used.
